
Key Takeaways
Maintaining your engine’s timing is essential for longevity and preventing catastrophic failure. This article covers the critical procedures for managing your vehicle’s synchronization system.
- Regular inspection of the belt prevents unexpected engine breakdown and costly damage.
- Using factory-specified locking tools ensures the engine alignment remains perfect during service.
- Replacing the water pump and pulleys concurrently saves labor time and future maintenance costs.
- Interference engine types demand strict adherence to service intervals to avoid severe valve damage.
- Manually rotating the engine after installation confirms that all timing marks are perfectly aligned.
Understanding the role of the timing belt
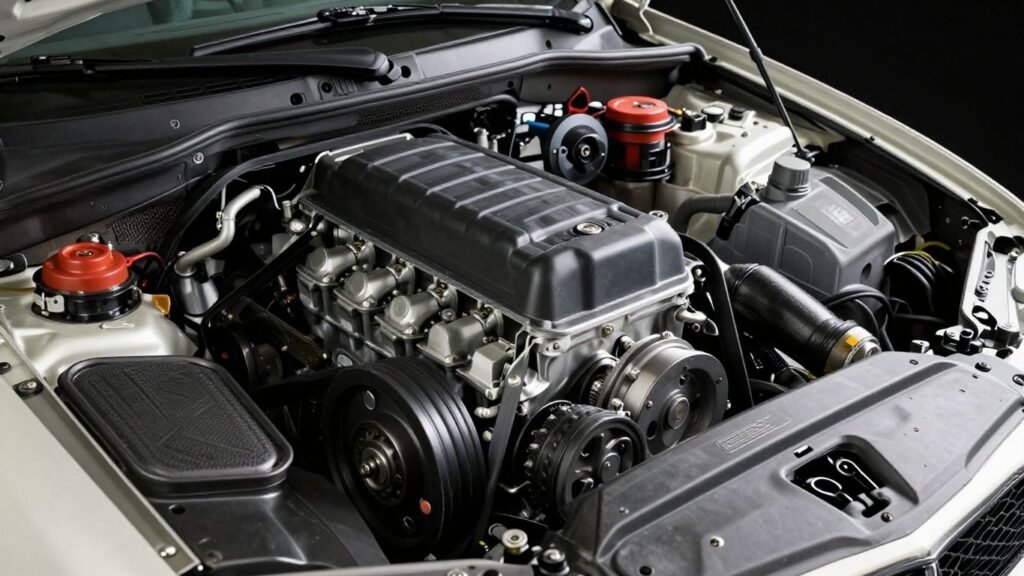
The timing belt acts as the backbone of your engine’s internal synchronization, ensuring that the crankshaft and camshaft rotate in precise harmony. Without this belt, your engine cannot manage the intake of air and fuel or the exhaust of combustion gases effectively. It typically operates behind an engine cover, working silently to keep the entire combustion process running smoothly throughout every mile you drive.
How the timing belt synchronizes engine components
The belt creates a mechanical link between the rotating crankshaft and the camshaft, dictating exactly when the engine valves open and close. By maintaining this connection, the belt ensures that each cylinder ignites at the precise microsecond required for optimal power production. If the belt slips even a few teeth, the combustion cycle becomes erratic, resulting in immediate performance loss or engine stalling.
The critical difference between interference and non-interference engines
Renault engines vary in design, and knowing your engine type is vital for maintenance planning. In an interference engine, the valves and pistons occupy the same space at different times during the cycle, meaning a snapped belt will likely cause collision and severe internal damage. Conversely, non-interference designs allow enough clearance to prevent piston-to-valve contact if the belt fails, though they still require consistent servicing to maintain reliable operation.
Consequences of belt failure on Renault engine internals
When a belt snaps while the engine is under load, it creates a chaotic synchronization breakdown that often results in bent valves and damaged piston crowns. Because the valvetrain stops suddenly while the rotating assembly may still carry momentum, the resulting impact is often destructive to essential components. Replacing a broken system after failure is significantly more expensive than following a standard Renault timing belt maintenance schedule.
Identifying signs your Renault needs a replacement

Noticing the early symptoms of belt fatigue can differentiate between a straightforward repair and a full mechanical rebuild. Because these belts are hidden from everyday view, owners must rely on subtle behavioral cues from the engine and their own service records. Paying attention to these indicators early ensures you can address the issue long before a failure occurs during peak usage.
Common dashboard warning indicators and mechanical noises
While a failing belt rarely triggers a dedicated check engine light, you may notice persistent ticking or slapping sounds arriving from the side of the engine block. These noises often suggest that the belt has lost tension or that a guide pulley is beginning to seize. Ignoring these warning signs frequently leads to accelerated wear on the belt teeth and the potential for off-timing operation.
Analyzing the manufacturer’s recommended service interval
Factory guidelines provide the safest baseline for avoiding timing belt replacement risks. These schedules are designed to account for long-term material fatigue rather than just current performance, making them the gold standard for your planning.
| Vehicle Component | Average Service Life | Importance Level |
|---|---|---|
| Timing Belt | 60,000 – 80,000 miles | Critical |
| Water Pump | With belt change | High |
| Tensioner Pulleys | With belt change | High |
Following these intervals allows owners to replace their kits during scheduled downtime rather than dealing with an emergency roadside breakdown.
Visual inspections for cracking, glazing, or fraying belts
If you find evidence of an inspection port or remove the timing cover, look for signs of rubber degradation. Hardened, glossy surfaces indicate heat-related glazing, while visible cracks across the ribs point to the end of the belt’s useful lifespan. Should you discover these wear patterns, scheduling a replacement immediately is the safest course of action.
Necessary tools and pre-repair preparation
Preparation is the most significant factor when performing a timing belt change on modern engines. You need to gather all specific hardware and workspace requirements before you ever touch a fastener. Having the correct setup keeps the job methodical and keeps your engine secure throughout the entire process.
Essential locking tools for Renault engine timing
Getting the timing correct requires specialized locking pins that hold the crankshaft and camshaft in their original orientation. Without these tools, manual alignment becomes an exercise in frustration, as there is virtually no room for error when ensuring the TDC position. These pins provide the exact registration necessary to lock components securely while you swap the old belt for the new one.
Selecting the correct timing belt kit for your specific model
Using high-quality Dayco timing belt kits provides all the necessary components designed to function seamlessly together. Kits often include the belt, individual idler pulleys, and the tensioner assembly, which are critical for restoring factory performance. Choosing a kit that matches your engine code is vital, as manufacturers frequently adjust tensioner designs and belt widths between model years.
Safety precautions when working with hydraulic tensioners
Hydraulic tensioners contain internal pressure that requires careful handling during removal and installation. Never attempt to force a tensioner into place, as the internal components can be damaged easily if not retracted or released according to official service data. Wear eye protection throughout this process to guard against the sudden release of spring tension.
Safe removal of the old timing belt
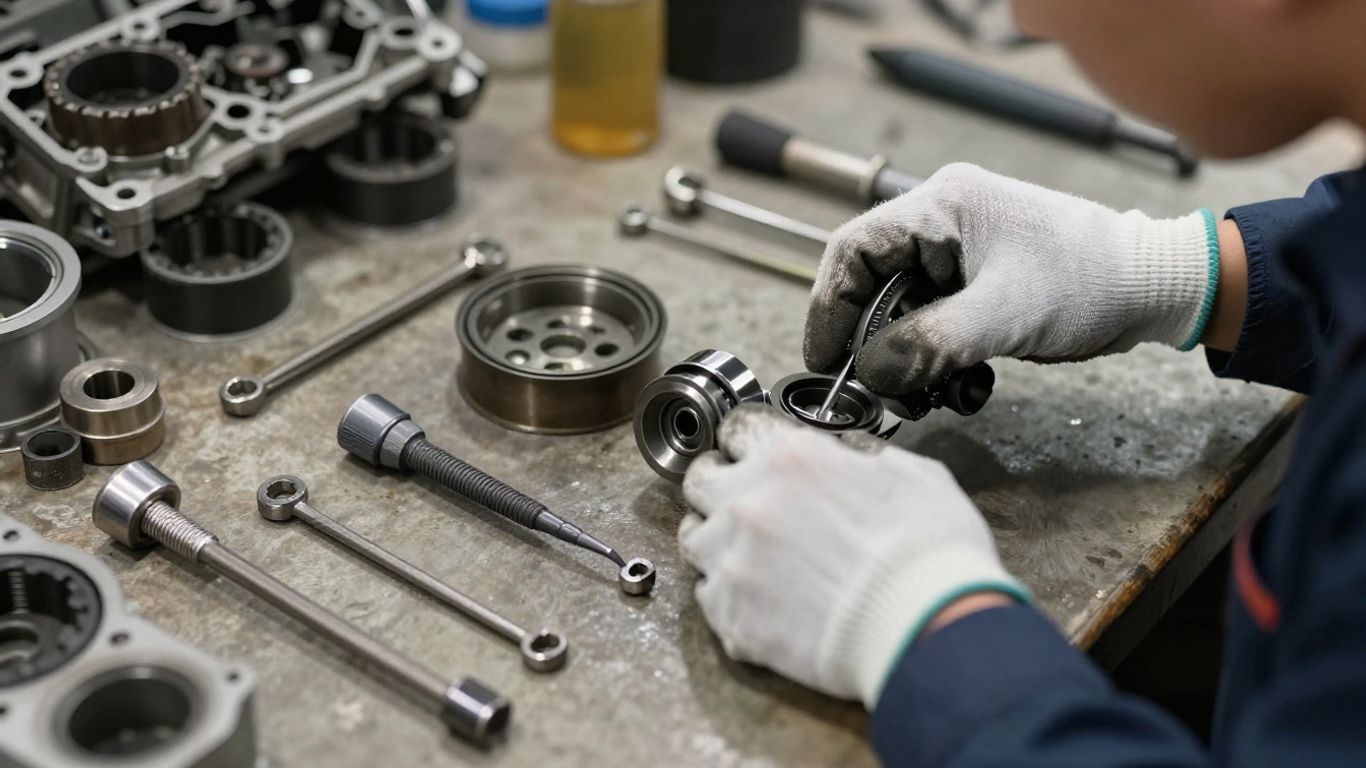
Removing the old components requires a disciplined approach to ensure the engine remains stable within the chassis. You must lift the vehicle safely and remove the peripheral panels that obscure your view of the engine side. By documenting exactly how parts were removed, you make the reinstallation stage significantly more straightforward and less liable to error.
Gaining access to the timing cover and engine mounts
Accessing the workspace often involves removing the front wheel-arch liner and the auxiliary drive components to expose the engine side. You will also need to support the engine safely using a jack or a bridge tool while removing the upper engine mount. This specific process is required because the mount is usually bolted directly over the timing belt housing, making it impossible to open without clearing that space.
Identifying and aligning the crankshaft and camshaft timing marks
Once the cover is removed, you must rotate the engine manually until the marks line up exactly with the registration points. After aligning, insert your locking tools to hold these positions firmly against the mechanical force required to break loose the crankshaft pulley bolt. This is the single most critical phase of the operation, as any deviation at this stage forces the entire timing cycle out of sync.
Managing belt tension during the removal phase
Before dropping the old belt, note the direction of travel to understand how the tensioner has been distributing load. When releasing the tensioner, maintain your grip on the components so that nothing drops into the lower engine bay. Once the tensioner is slack, pull the belt off the pulleys one by one, keeping the cams and crank locked tightly in place.
Installing and tensioning your new kit
With the area cleared of debris, you can prepare the engine for the new belt. The installation phase demands patience to ensure that every single segment of the belt sits correctly on the gear teeth. Using a Dayco installation procedure helps guide the tensioning process through the correct steps for your engine variant.
Proper orientation and pathing of the new belt
Slide the new belt onto the pulleys, ensuring it stays tight between the crankshaft and the camshaft pulleys first. Following your service manual’s path, verify that no belt teeth interfere with the housing edge during the slide-on process. This step is best performed using a systematic approach where you check the alignment of every mark after the belt is fully seated.
Setting the correct tension using Renault-specific factory procedures
Use the official measurement tool or tensioning marks provided on the new assembly to achieve the correct tightness. Over-tensioning can cause premature bearing failure in the water pump, while a loose belt results in dangerous vibration and jumping teeth. The goal is to match the manufacturer’s specified tension to maintain performance across all engine temperatures.
Why replacing the water pump and idler pulleys is recommended
Modern Renault engineering relies on the timing belt to drive the water pump continuously; if the pump bearing seizes, the timing belt will likely snap. By replacing these auxiliary components along with the belt, you prevent a secondary mechanical failure that would force you to redo the entire job. It is common practice to perform this as a full system service.
Completing the install and verifying timing
Before you start the engine, you must clear the workspace and remove all locking tools to ensure they do not collide with the rotating assembly. Performing final checks confirms that your effort resulted in a secure, factory-aligned system. Verification is the final barrier against potential internal damage, so this stage should never be rushed.
Manually rotating the engine to prevent valve contact
Remove your locking pins and use a large wrench on the crankshaft pulley to rotate the engine manually by hand for two full revolutions. This manual rotation verifies that there is zero physical resistance against the turning of the valves, confirming that no contact exists. If the engine turns over smoothly through these rotations, you have successfully set the timing correctly.
Final checks before attempting an engine start
After successfully completing the manual rotation, re-check your timing marks one final time to see if they remain aligned. Ensure that no tools were left behind in the engine bay and that all wires or hoses moved during the process are securely connected. Take a moment to monitor your tensioner settings one last time while everything is clearly visible.
Reassembly and torque specifications for peripheral components and covers
Reassemble the engine mounts, cover plates, and auxiliary drives according to the exact torque specifications in your service document. Properly torquing each bolt is necessary to ensure that components do not loosen under thermal stress during highway operation. Following this reassembly, check that all fluid levels are topped off and the workspace is completely clear before turning the ignition key.
Conclusion
Successfully managing your engine’s timing is a rewarding task that reinforces the mechanical integrity of your vehicle while providing long-term reliability. By following these precise steps and adhering to manufacturer-recommended components, you minimize risks and ensure that your engine operates with factory-level precision for years to come. Routine maintenance remains the most powerful tool in any owner’s arsenal to keep their vehicle on the road and out of the service bay.
Frequently Asked Questions
How often should I replace my timing belt?
Most manufacturers suggest intervals between 60,000 and 100,000 miles, but you should check your specific owner’s manual. Your driving conditions, such as short city trips or heavy climate exposure, can also influence the necessity for earlier replacement.
Can I replace the timing belt without special tools?
While some mechanics attempt this, it is highly discouraged as most modern engines require factory-specific pins to maintain alignment. Without these tools, you risk significant engine damage from even a minor timing error during the installation process.
Why do I need to replace the water pump at the same time?
In many vehicle designs, the timing belt drives the water pump directly. If the pump’s internal bearings fail later, the belt can snap, causing major engine damage, which makes changing both simultaneously a logical preventative measure.
What happens if the timing belt breaks while driving?
If your engine uses an interference design, a break will realistically cause pistons to collide with open valves. This results in severe internal damage that often makes a total engine rebuild or replacement necessary.
How long does a typical belt replacement take to perform?
Depending on the vehicle’s engine bay layout and the accessibility of the components, a professional technician generally needs several hours to complete the job. DIY enthusiasts should set aside a full day to ensure they have enough time to conduct the work safely.
Are there any sounds that indicate belt failure?
Yes, an impending belt issue may produce a low-pitched chirping, ticking, or slapping sound coming from the engine’s timing side. These noises are typically caused by worn-out pulleys and should be inspected immediately by a qualified professional.
Is belt replacement part of a standard service schedule?
Yes, replacing the timing belt is a major service event that is distinct from basic oil and filter changes. Because it is a high-stakes maintenance item, it is listed explicitly in your vehicle’s long-term maintenance documentation.